※ ubuntu 18.04 환경에서 설치 진행
VNCSERVER를 설치하는 이유는 GUI 환경으로 linux 깔려있을 때, 원격으로 접속하기 위함입니다.
그렇기 때문에 기본적으로 GUI 환경이 깔려있어야 하며, GUI 환경을 먼저 설치하였습니다.
[GUI 환경 설치]
# apt-get update
# apt-get install ubuntu-desktop
# ll /lib/systemd/system/default.target
lrwxrwxrwx 1 root root 16 Apr 21 2018 /lib/systemd/system/default.target -> graphical.target
graphical.target이 runlevel 5 GUI 환경입니다.
# runlevel
N 5
# reboot
1. xrdp 설치
# apt-get install xrdp
# apt-get install xfce4
# service xrdp start
# netstat -nltp |grep xrdp
tcp6 0 0 ::1:3350 :::* LISTEN 1810/xrdp-sesman
tcp6 0 0 :::3389 :::* LISTEN 1830/xrdp
2. vncserver 구축
# apt-get install tightvncserver vnc4server
VNC 서버에 접속할 계정 생성
# adduser testvnc
# su - testvnc
$ tightvncserver
You will require a password to access your desktops.
Password:
Verify:
Password too long - only the first 8 characters will be used
xauth: file /home/testvnc/.Xauthority does not exist
Found /usr/share/tightvnc-java for http connections.
New 'X' desktop is hostname:1
Creating default startup script /home/testvnc/.vnc/xstartup
Starting applications specified in /home/testvnc/.vnc/xstartup
Log file is /home/testvnc/.vnc/hostname:1.log
$ netstat -nltp | grep tightvnc
(Not all processes could be identified, non-owned process info
will not be shown, you would have to be root to see it all.)
tcp 0 0 0.0.0.0:5801 0.0.0.0:* LISTEN 11468/Xtightvnc
tcp 0 0 0.0.0.0:5901 0.0.0.0:* LISTEN 11468/Xtightvnc
tcp 0 0 0.0.0.0:6001 0.0.0.0:* LISTEN 11468/Xtightvnc
$ vi /home/testvnc/.vnc/xstartup
#!/bin/sh
xrdb $HOME/.Xresources
startxfce4 &
xsetroot -solid grey
#x-terminal-emulator -geometry 80x24+10+10 -ls -title "$VNCDESKTOP Desktop" &
#x-window-manager &
# Fix to make GNOME work
export XKL_XMODMAP_DISABLE=1
/etc/X11/Xsession
gnome-panel &
gnome-setting-daemon &
metacity &
nautilus &
gnome-terminal &
vncviewer 세션 종료 방법
$ vncserver -kill :1
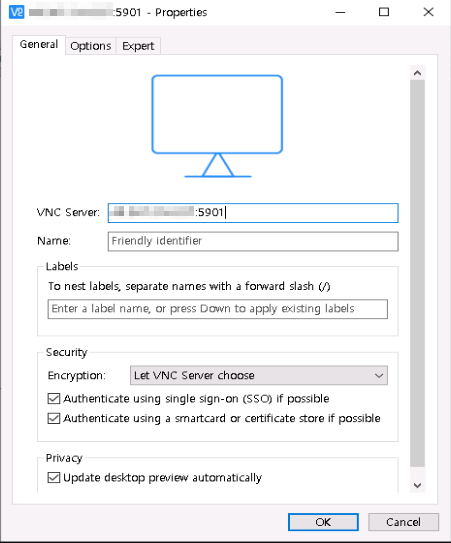
vncviewer 설치 : https://www.realvnc.com/en/connect/download/viewer/

'LINUX > BASIC' 카테고리의 다른 글
| nmon 설치 (0) | 2019.06.03 |
|---|---|
| CentOS vncserver 구축 (0) | 2019.06.01 |
| Openssl 소스설치 (2) | 2019.06.01 |
| Curl 소스설치 (0) | 2019.06.01 |
| iperf 사용법 (0) | 2019.06.01 |
